Do you remember painting Easter eggs as a kid? I used to do it every year with my siblings. Back then, we only had two color options—red or blue—or we’d use natural dyes made from onion peels. I had a whole little lab set up for the painting process: one jar with red dye, another with blue, and a third with vinegar. The final touch? Rubbing the eggs with a bit of grease to make them shine.
Did you know that egg painting is an ancient tradition found in cultures around the world? Archaeologists have discovered ornamental eggs from ancient Mesopotamia and Egypt. And of course, the most famous Easter eggs might be the exquisite Fabergé eggs, created for the Russian imperial family in the 19th and 20th centuries.
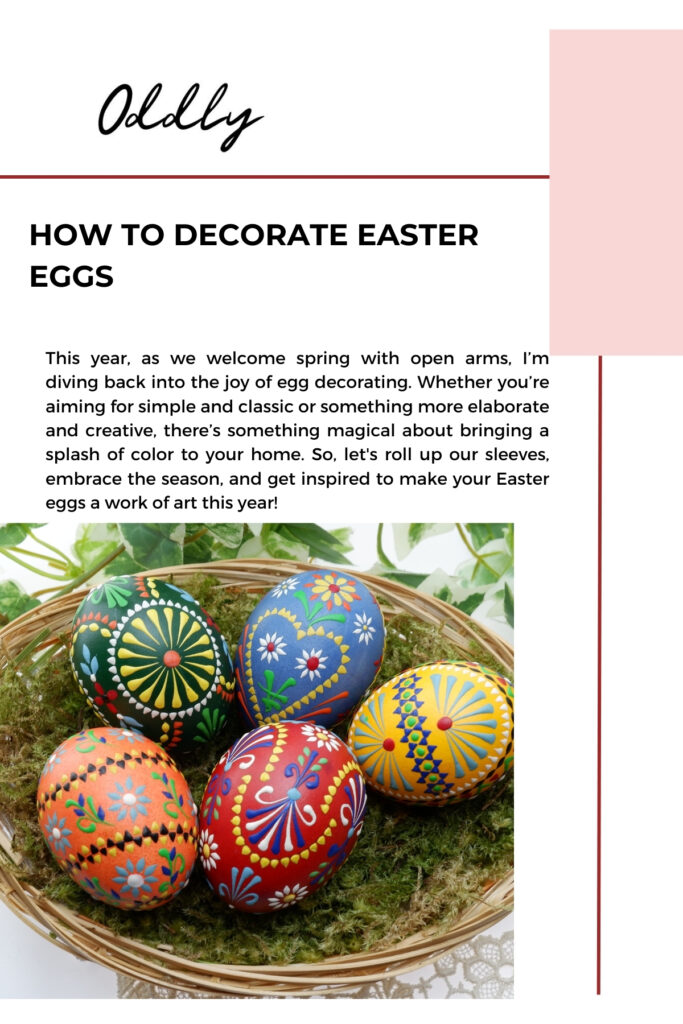
While we may not have the tools (or royal budget!) to match those masterpieces, I’m excited to share some of my favorite creative egg decorating methods—so your home can shine this Easter too! Because who said you have to be a kid to paint Easter eggs?
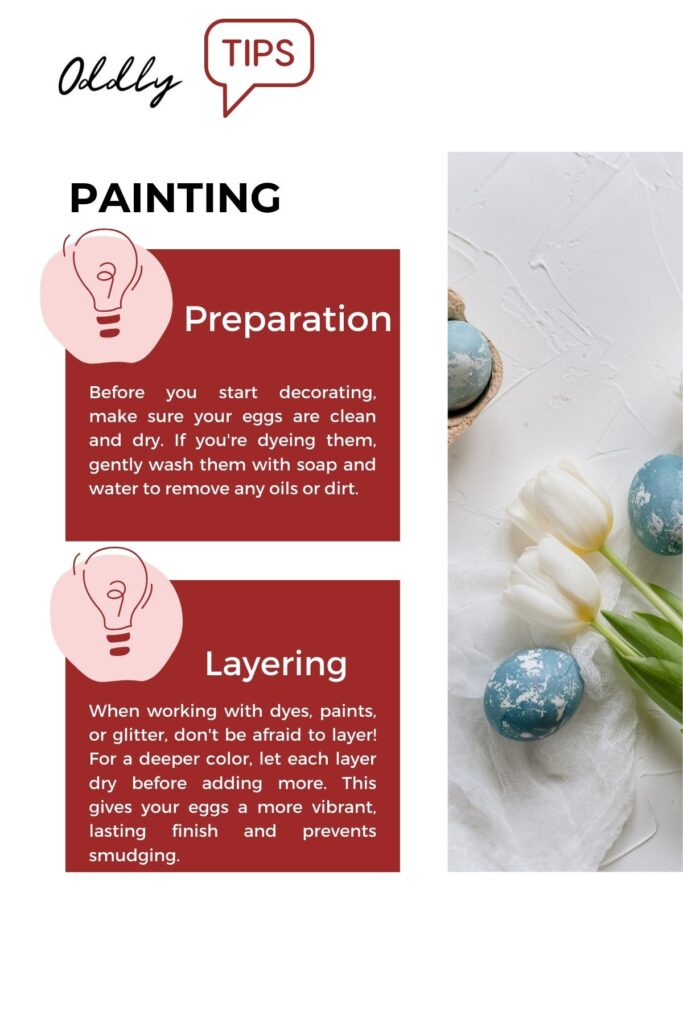
I recommend to use white eggs because they are clean and bright so the colors will stand out more vividly.The contrast on a white egg will always make your designs pop. Unfortunately,brown eggs may not showcase lighter dyes as well.But for the natural dyed look they can be perfect too.Another note: Eggs are fragile little beings. So be careful with them 🙂 Also sometimes we just need some time as well as eggs.Always give your eggs plenty of time to dry so that there will be no smudges or fingerprints.
A big YES for natural dyes because most of the ingredients are already in your kitchen or can be easily sourced, reducing waste and making this a budget-friendly alternative to store-bought dyes.
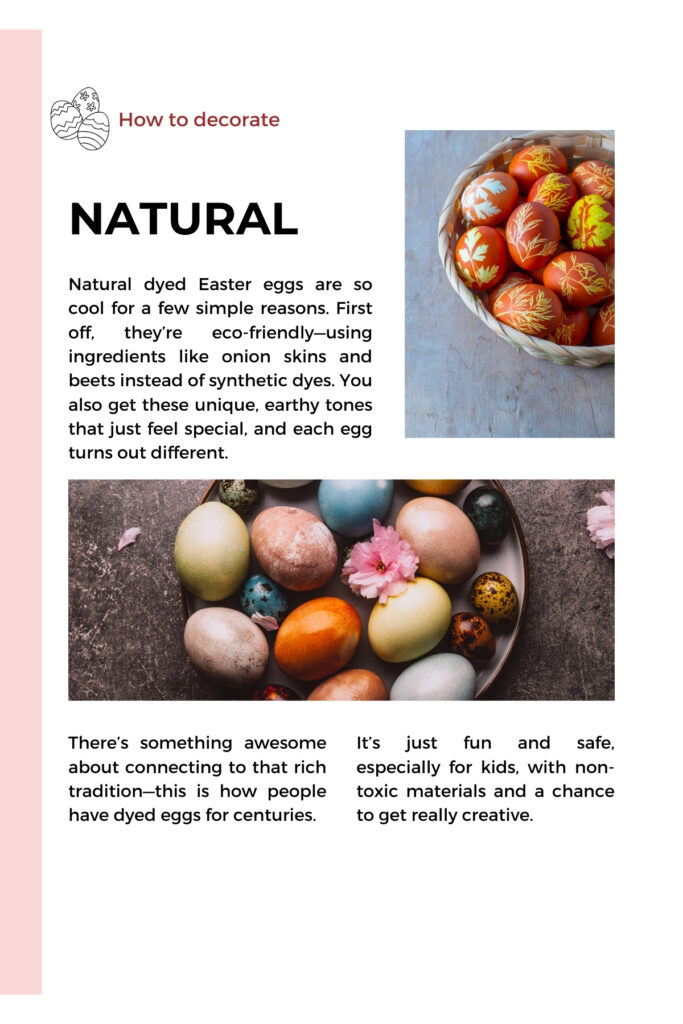
Natural dyed eggs
In a medium saucepan, add 2 cups of the chosen natural ingredient and 4-5 cups of water.Wait until boiling, then reduce the heat and let it simmer for 15-30 minutes until the water takes on a deep color.Remove from heat and let the dye cool to room temperature.Step 2 is to add 1 tablespoon of vinegar to help set the color on the eggs.Place the eggs into the water.Let them soak for at least 30 minutes for light colors, or up to several hours if you want to have deeper colors.Finally,remove the eggs from the dye bath and pat them dry with a paper towel.For a slight sheen, rub a little vegetable oil or coconut oil onto the eggs once they are dry.
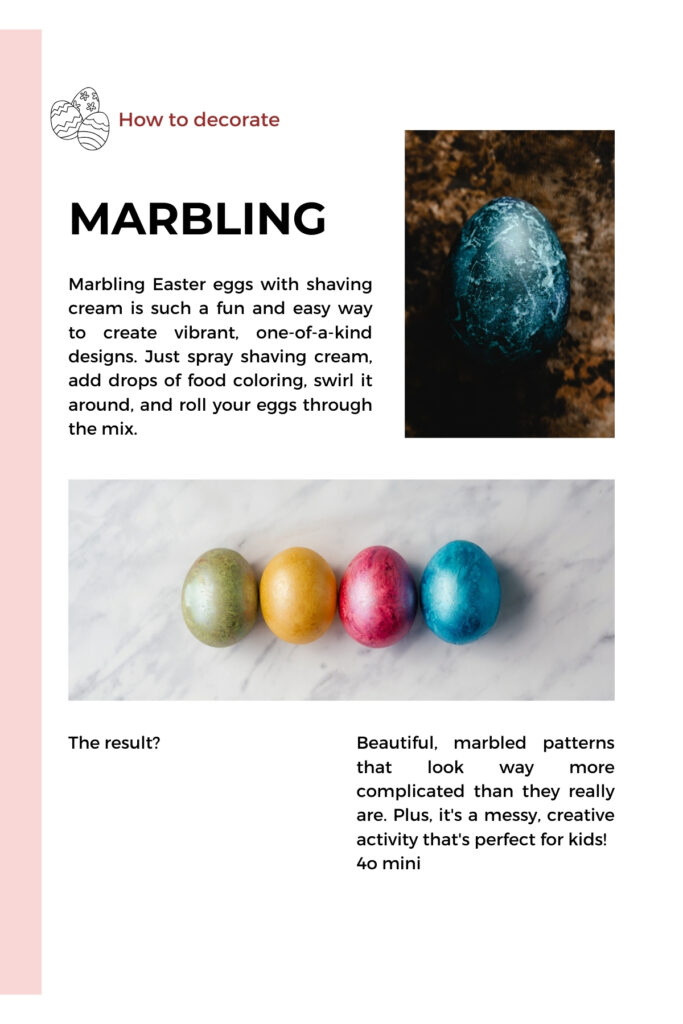
Marbled eggs
If you’re looking for a truly unique technique,try marbling with shaving cream! The swirling technique produces fluid, unpredictable patterns, making each egg a tiny piece of abstract art.You can be 100% sure that no two eggs will ever look the same! Step 1 is to spray a generous amount of shaving cream onto a shallow tray, plate, or baking dish.Then drop food coloring onto the shaving cream. Take a toothpick or skewer and gently swirl the food coloring in the shaving cream. Be careful not to mix the colors too much! Roll the eggs on the surface of the shaving cream to create the marbled effect.Let the eggs sit in the shaving cream for about 5-10 minutes then gently remove them.Wipe off the excess cream with paper towels and set the eggs on a clean paper towel and allow them to dry completely
I dare you to go full glam with your Easter eggs this year.Yup…i mean glitter.Why? Because it is an easy way to add a touch of glam to anything,and Easter is no exception.Are we totally crazy? Well,it can be but if you love a little sparkle, there’s no reason your Easter eggs can’t shine!
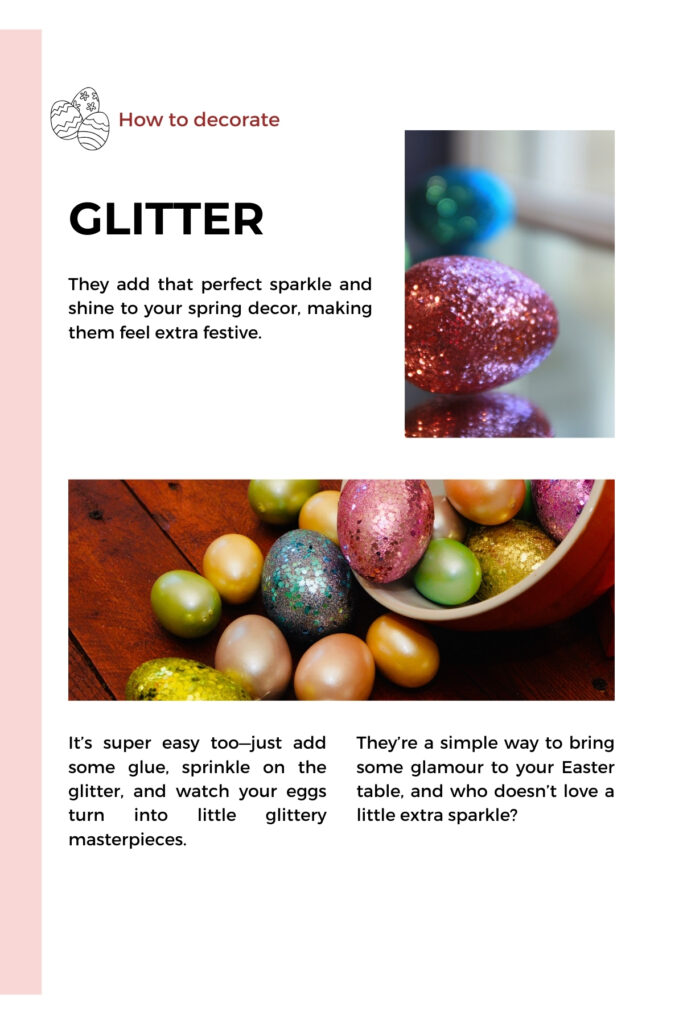
Sparkling eggs
With the help of a paintbrush or sponge, coat the egg with a thin layer of white glue or Mod Podge.Pour glitter into a small bowl or tray and roll or sprinkle the egg with glitter, making sure it’s completely covered.Let them dry for 10-15 minutes then gently tap off any excess glitter, and your sparkly eggs are ready!
If you’re short on time or prefer a low-effort decorating method, stickers are your best friend.Probably that’s the fastest and simplest way to decorate eggs.Plus you don’t have to worry about the mess of dyes or paints.There are endless variety of stickers ,so there is truly no limits to your creativity.You don’t have to stick with seasonal themes….just to go to the nearest stationery and choose a bunch of fun ones!
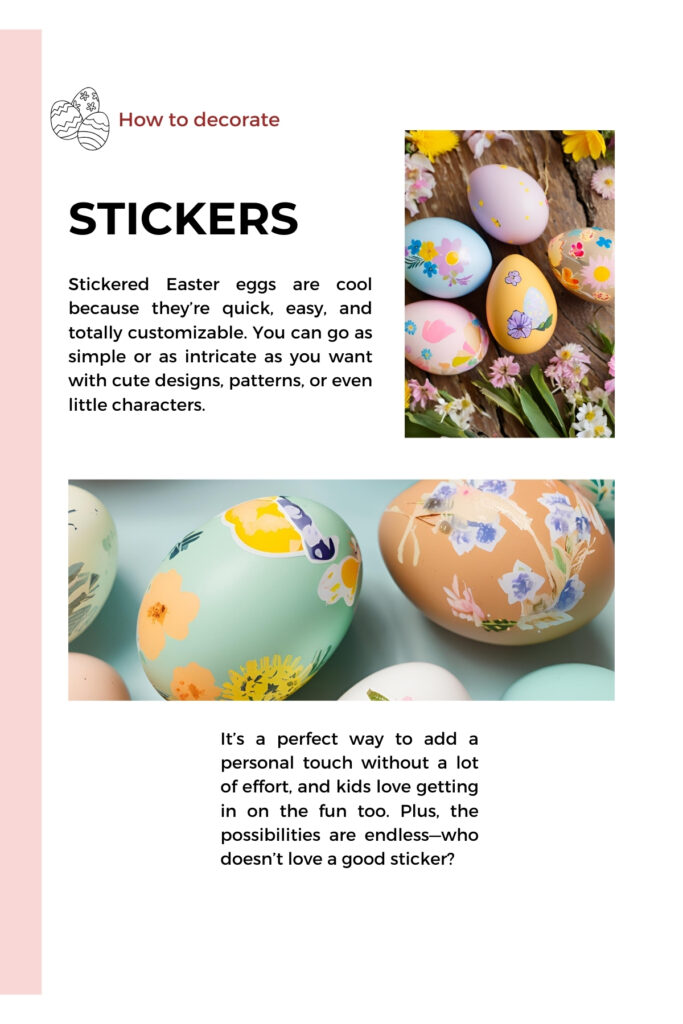
Stickers
Peel the stickers and apply them to the eggs, pressing down gently to make sure they stay on well.If you need smaller stickers or specific shapes, you can use scissors to cut them to fit.Our pro tip is to add clear acrylic sealer for a shining finish. This will also help the stickers stay on better 🙂
If you’re an artist at heart, you might prefer to create designs with your own hands,and for that using watercolor painting is a great-if not the best-option.The result speaks for itself: watercolored Easter eggs have that dreamy and ethereal vibe.When using watercolor painting the colors tend to merge and fade seamlessly into one another, creating beautiful, subtle gradients that are hard to achieve with other painting techniques.
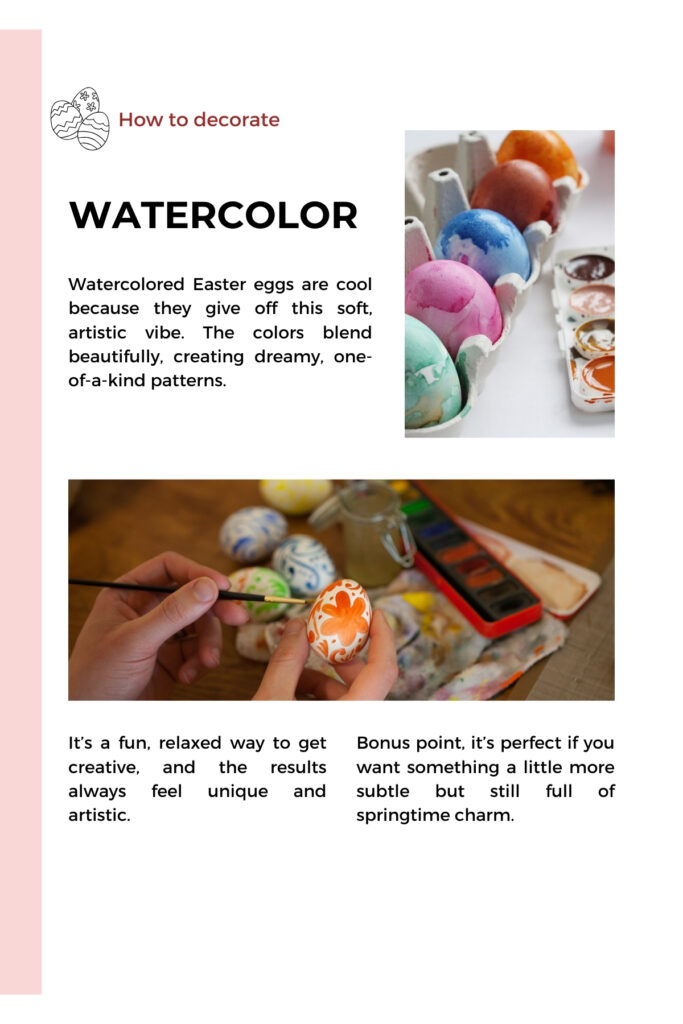
Watercoloring
Set up a workspace where you can comfortably paint your eggs, and be sure to cover your surface with newspaper for easy cleanup.With a small paintbrush gently apply watercolor to the eggs.You can create layers by using different colors.If you go with this it’s important to let one layer dry before adding another color on top.For drying place your eggs on a paper towel.Watercolor will dry relatively quickly, but make sure it’s fully dry before handling the eggs.
Have you ever thought about writing on Easter eggs?…Me neither.Until i’ve discovered how cool is this idea.With sharpie markers you can create patterns, lines, and fine art to your eggs as well as quotes of even affirmations.So for sure it’s a win for sharpie markers.Another pro for sharpies is that unlike paints or dyes, they don’t require drying time.And after drying, sharpie markers are smudge-proof and long-lasting, so your designs will stay intact throughout the Easter season.
Why not press flowers and leaves onto your eggs? The fine details, like veins in the petals and the gentle curves of the leaves, give the egg a sophisticated, natural look.Pressed flowers are elegant in their own simplicity. You don’t need to be an expert artist to achieve beautiful results.
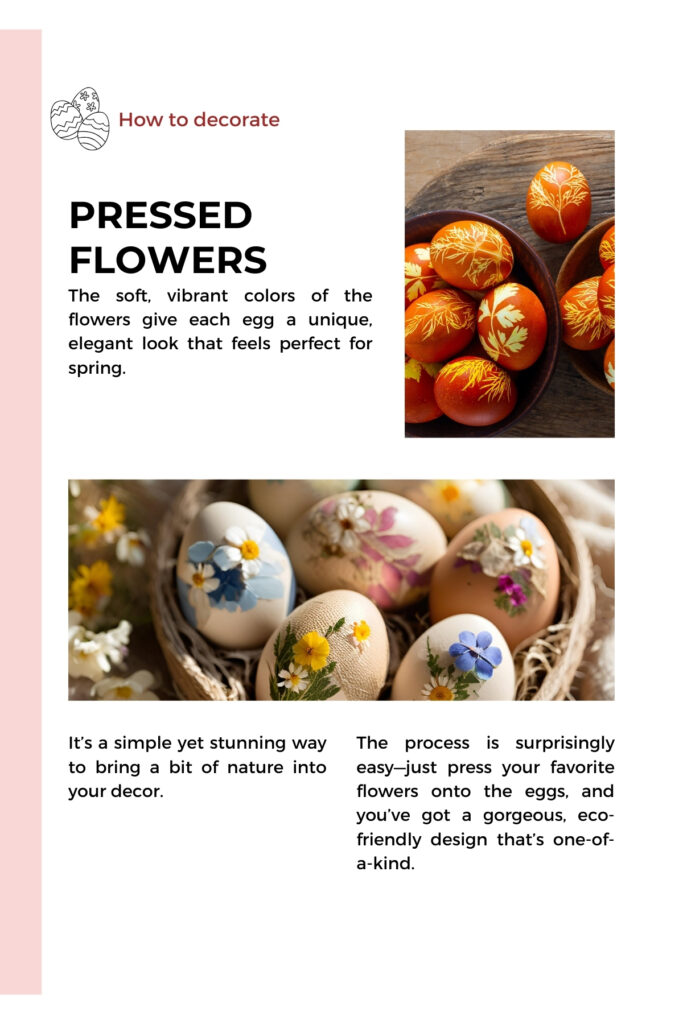
Pressed flowers
Choose flowers that are small enough to fit on an egg, like violets, pansies, daisies, or lavender.You can flatten them in days by placing them between sheets of a book for a few days.Once they are pressed and dry, glue them onto the surface of the egg. You can use Mod Podge or a similar adhesive, being careful not to tear the delicate petals.After applying the flowers, seal them with a thin layer of Mod Podge or another clear, non-toxic sealant to protect the flowers and ensure they stay in place.